
1.Installing Themes and Plugins
Themes and Plugins operate differently for each application you use. The following guide will show you how to install themes and plugins for commonly-used applications.
2.WordPress
2.1.Changing the look and feel of your WordPress site
When it comes to WordPress, customizing the look of your site is simple and straightforward. When you install WordPress, the default (or pre-set) theme is called Twenty Twenty-Three (as of WordPress version 6.2). It is a very customizable theme.
You can find general information about Twenty Twenty-Three here.
In addition to Twenty Twenty-Three, you’ll have other themes available to you. (What themes you have depends upon if you did a default WordPress installation, or if you installed a special package.) If Twenty Twenty-Three doesn’t meet your needs, you can activate another theme on your site or install a completely new one.
Activating Themes
-
Start at your site’s Dashboard.
- Navigate to Appearance > Themes.

- You will see thumbnail images representing each of the themes that you currently have available on your site. Simply mouse over any one of them, and click the Activate link.
That’s all you need to do to change the look of your site with a new theme.
Installing Themes
If none of the themes that were provided when you installed WordPress are what you’re looking for, you can always search for and install other themes from the WordPress Theme Repository.
- Navigate to Appearance > Themes.
- Installing new themes is quite simple. You start by going to the Add New Button.
- The initial page is the Search Theme page, and it’s not visually helpful. You can check a few filter boxes to see what comes up, but there is a more visual way. Click the Featured link at the top and you’ll get visual (screenshot) examples of other themes you can install. You can also click Newest or Recently Updated.
- Under the thumbnail picture of each theme (when you hover your mouse over the theme) are three choices – Install, Preview, and Details & Preview. Those choices should be pretty self-explanatory so click Install to add a new theme to your site.
- After you install the theme, it is still not active on your site. You will need to Activate it to use it.
Once activated, your site will be using the new theme. Visit your site’s homepage to view your new theme.
WordPress Design Tools
Some newer themes will utilize design tool features to allow you to customize the layout, look, and feel of your site visually. Some examples include the Twenty Twenty-Two and Twenty Twenty-Three WordPress themes. To utilize these design features, Navigate to Appearance > Editor from the WordPress dashboard.
This feature will allow you to edit the layout of page types (for example, adding a sidebar to all “posts”) and editing content areas (such as the footer or header). The appearance editor replaces the “widgets” feature on other themes. So if you are following instructions that say you should edit a widget area, you will instead need to edit a template part in the appearance editor.
2.2.Plugins
WordPress has a lot of functionality built-in, but occasionally you might find a specific need that isn’t a part of the default software. To accomplish this, WordPress has a plugin architecture where developers can create plugins that add additional functionality to your site. From simple photo galleries to site statistics, to automatic Twitter and Facebook sharing of posts, there is practically a plugin for whatever you need for your blog (over 54,000 at the time of this writing). To start using and installing plugins just follow these simple instructions:
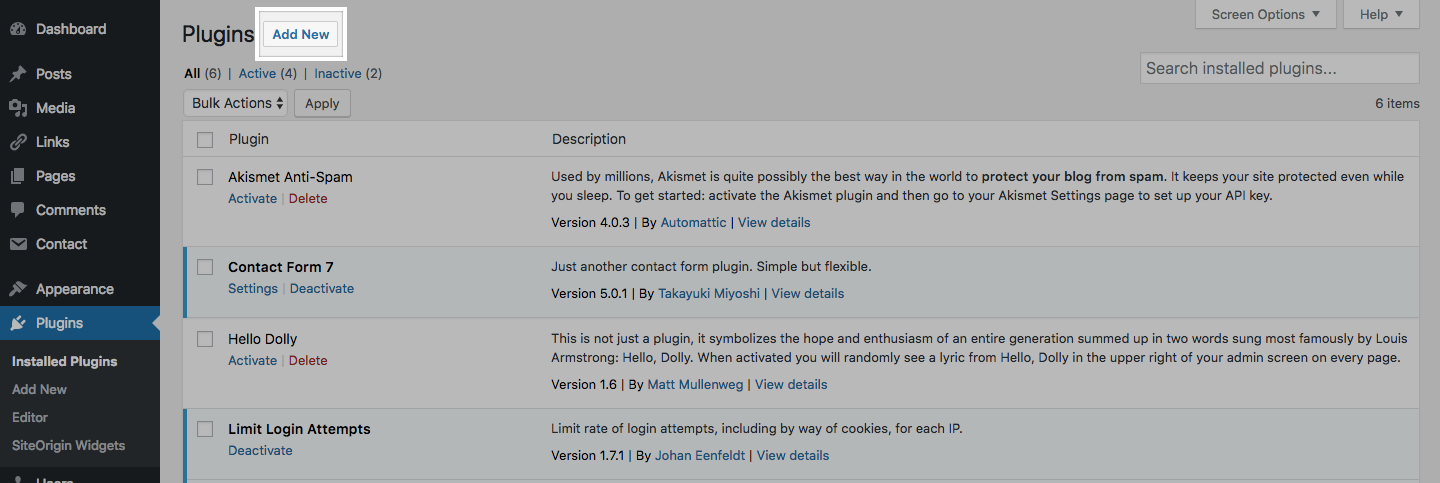
- Log in to your WordPress dashboard.
- From the left side menu, locate and click plugins.

- You will be given a list of all your currently installed plugins. From this menu, you are able to activate and disable specified plugins by using either the single plugin options located under each plugin name. Or you may use the bulk action drop down menu to simultaneously activate/disable multiple plugins by checking desired plugins. Additionally, you may also sort through installed plugins using the sorting options above the bulk action menu.
-
To install a new plugin click add new either from the plugin sidebar or the main plugin menu, you will then be redirected to a search engine where you can search using general or specific terms to find plugins. For example, searching “photo gallery” brings up various plugins from different developers.
Once you find your desired plugin to install it hit install now, which will automatically install the plugin and prompt you if you would like to activate it now or return to the menu.
After installing your plugin be sure to visit the developers’ website if you have any additional questions about how the plugin works, as some plugins may require certain codes or other actions to be used properly.
Some plugins will have their own settings page located under the settings or tools categories, other plugins will break out their own menu item on the lefthand side of the dashboard. Sometimes it won’t be explicit how the plugin interacts with your personal site, so it’s important to make sure you’ve read the documentation available on the plugin’s website.
3.Omeka
3.1.Installing Themes
Just as you would install plugins, installing themes to Omeka is very similar. Omeka has a few themes installed automatically that you have access to. But there are more themes available at http://omeka.org/add-ons/themes. There is no automatic installer so you would need to upload the theme to your File Manager in cPanel.
Start by finding the the theme you’d like to install. Download the theme by clicking on the red button.

After, you’ll go to your specific Omeka install. Click on themes.
Click Upload.

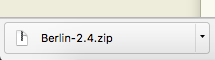
You can drag and drop the .zip file into the window or you can click select a file.
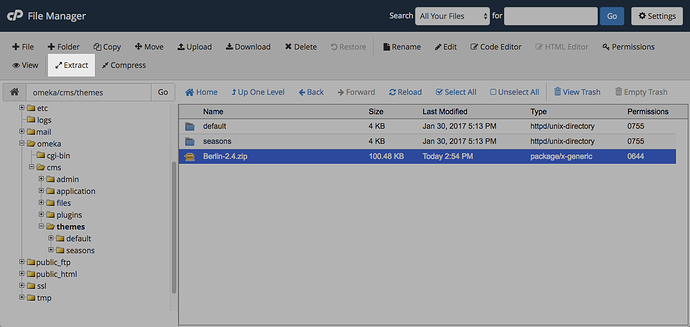
Once your file is uploaded to the themes folder you need to go in and extract the files from the .zip folder. Click on the theme file you just uploaded then click on extract.
You’ll need to confirm that you want to extract the files. Click extract files. 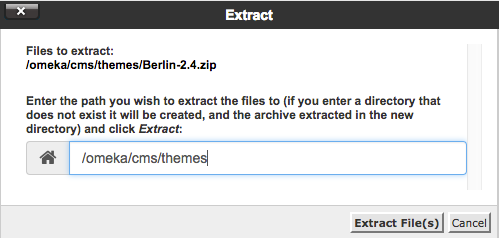
Once the theme is extracted you can delete the .zip file and the theme will now be available for activation within your Omeka administration interface.
3.2.Installing Plugins
As you begin to use your Omeka install on Reclaim Hosting you may wish to add additional functionality by way of the various open source plugins available at http://omeka.org/add-ons/plugins/. Although Omeka doesn’t currently include an automated installer for plugins, the process of uploading them to your space is outlined here.
To get started you’ll want to log into your cPanel:
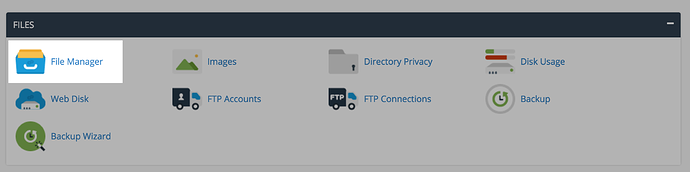
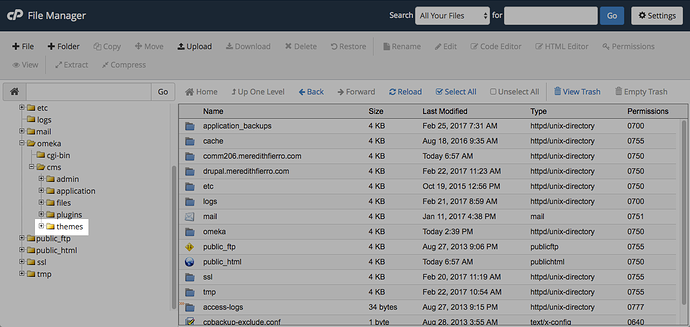
In cPanel you’ll access the File Manager located under the Files section.

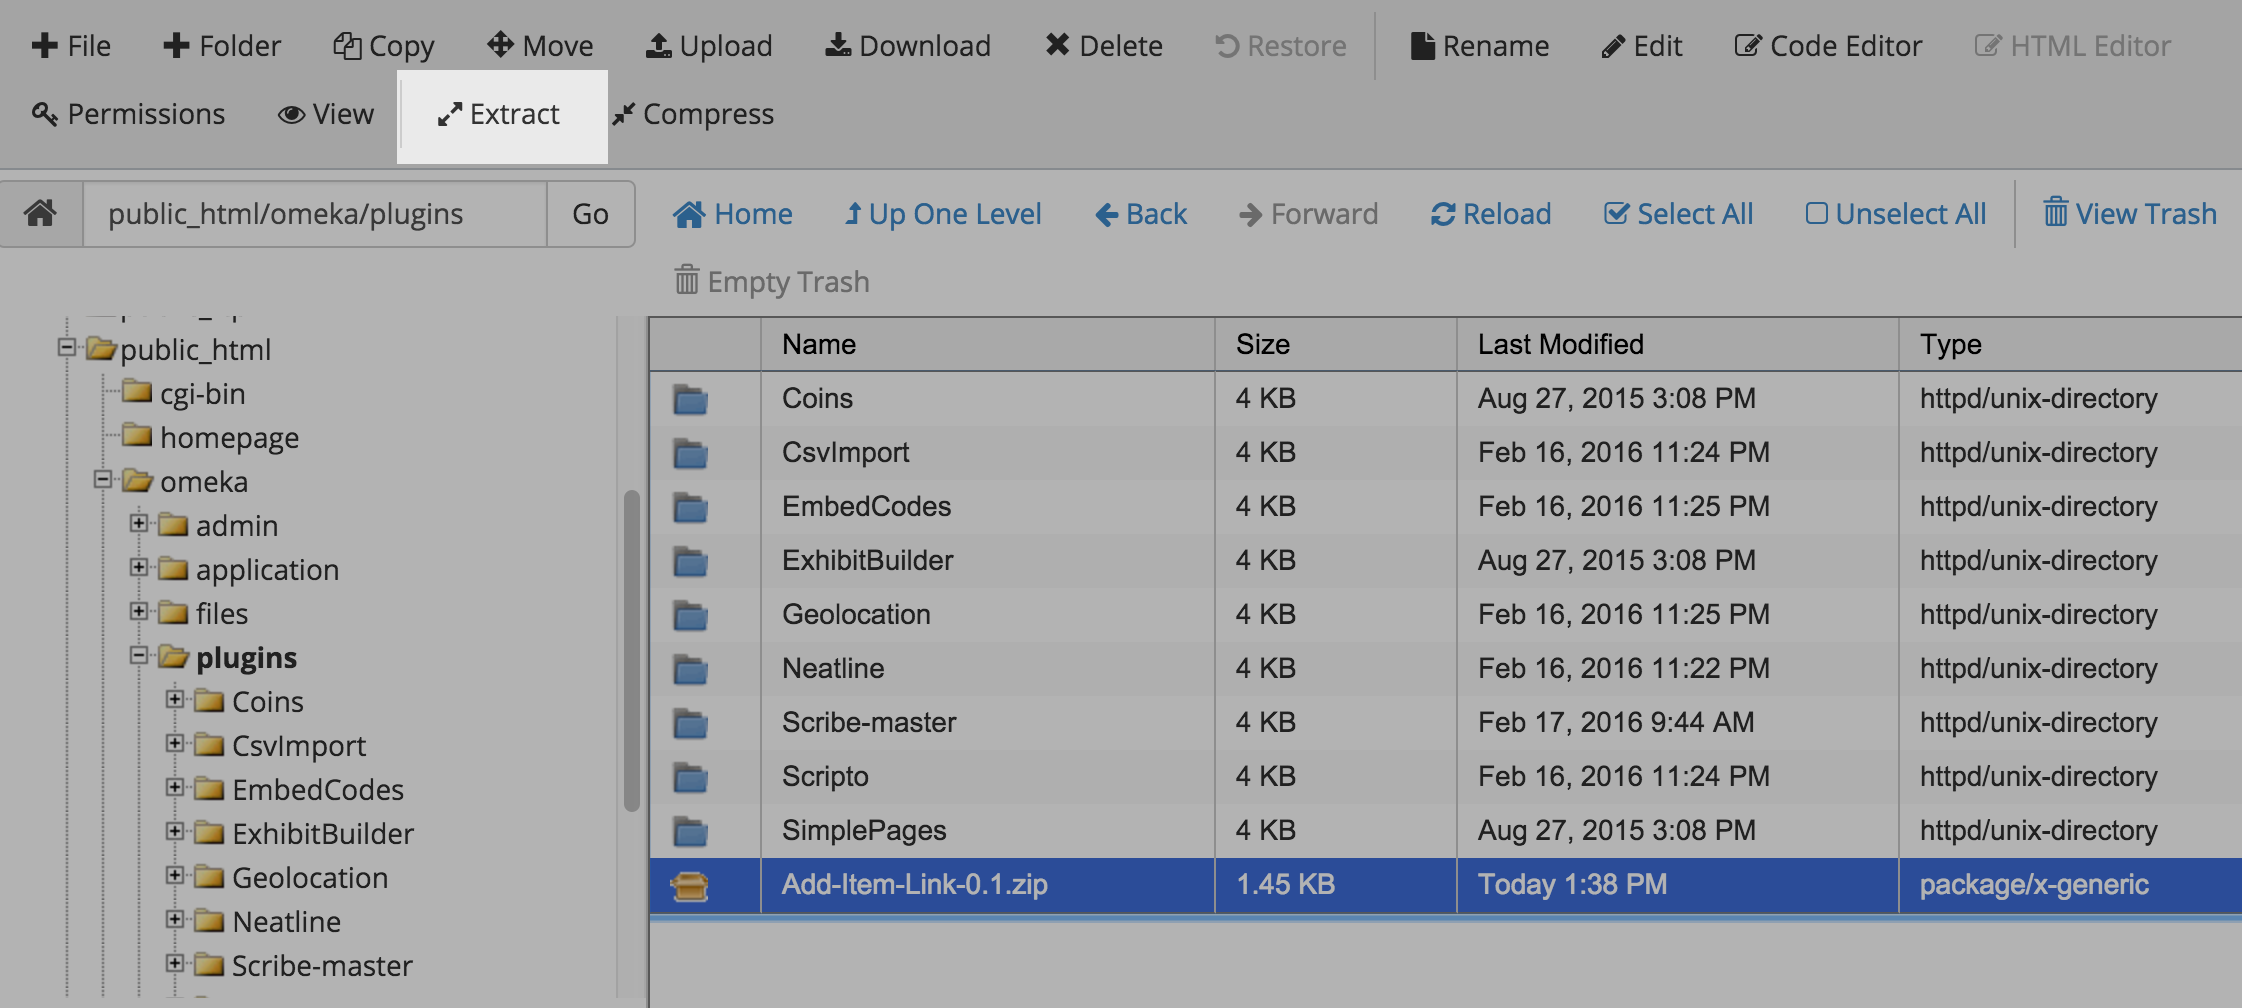
In the File Manager you’ll navigate on the lefthand sidebar down to your plugins folder which should be one of several folders within your Omeka install (your root directory for your domain is public_html).
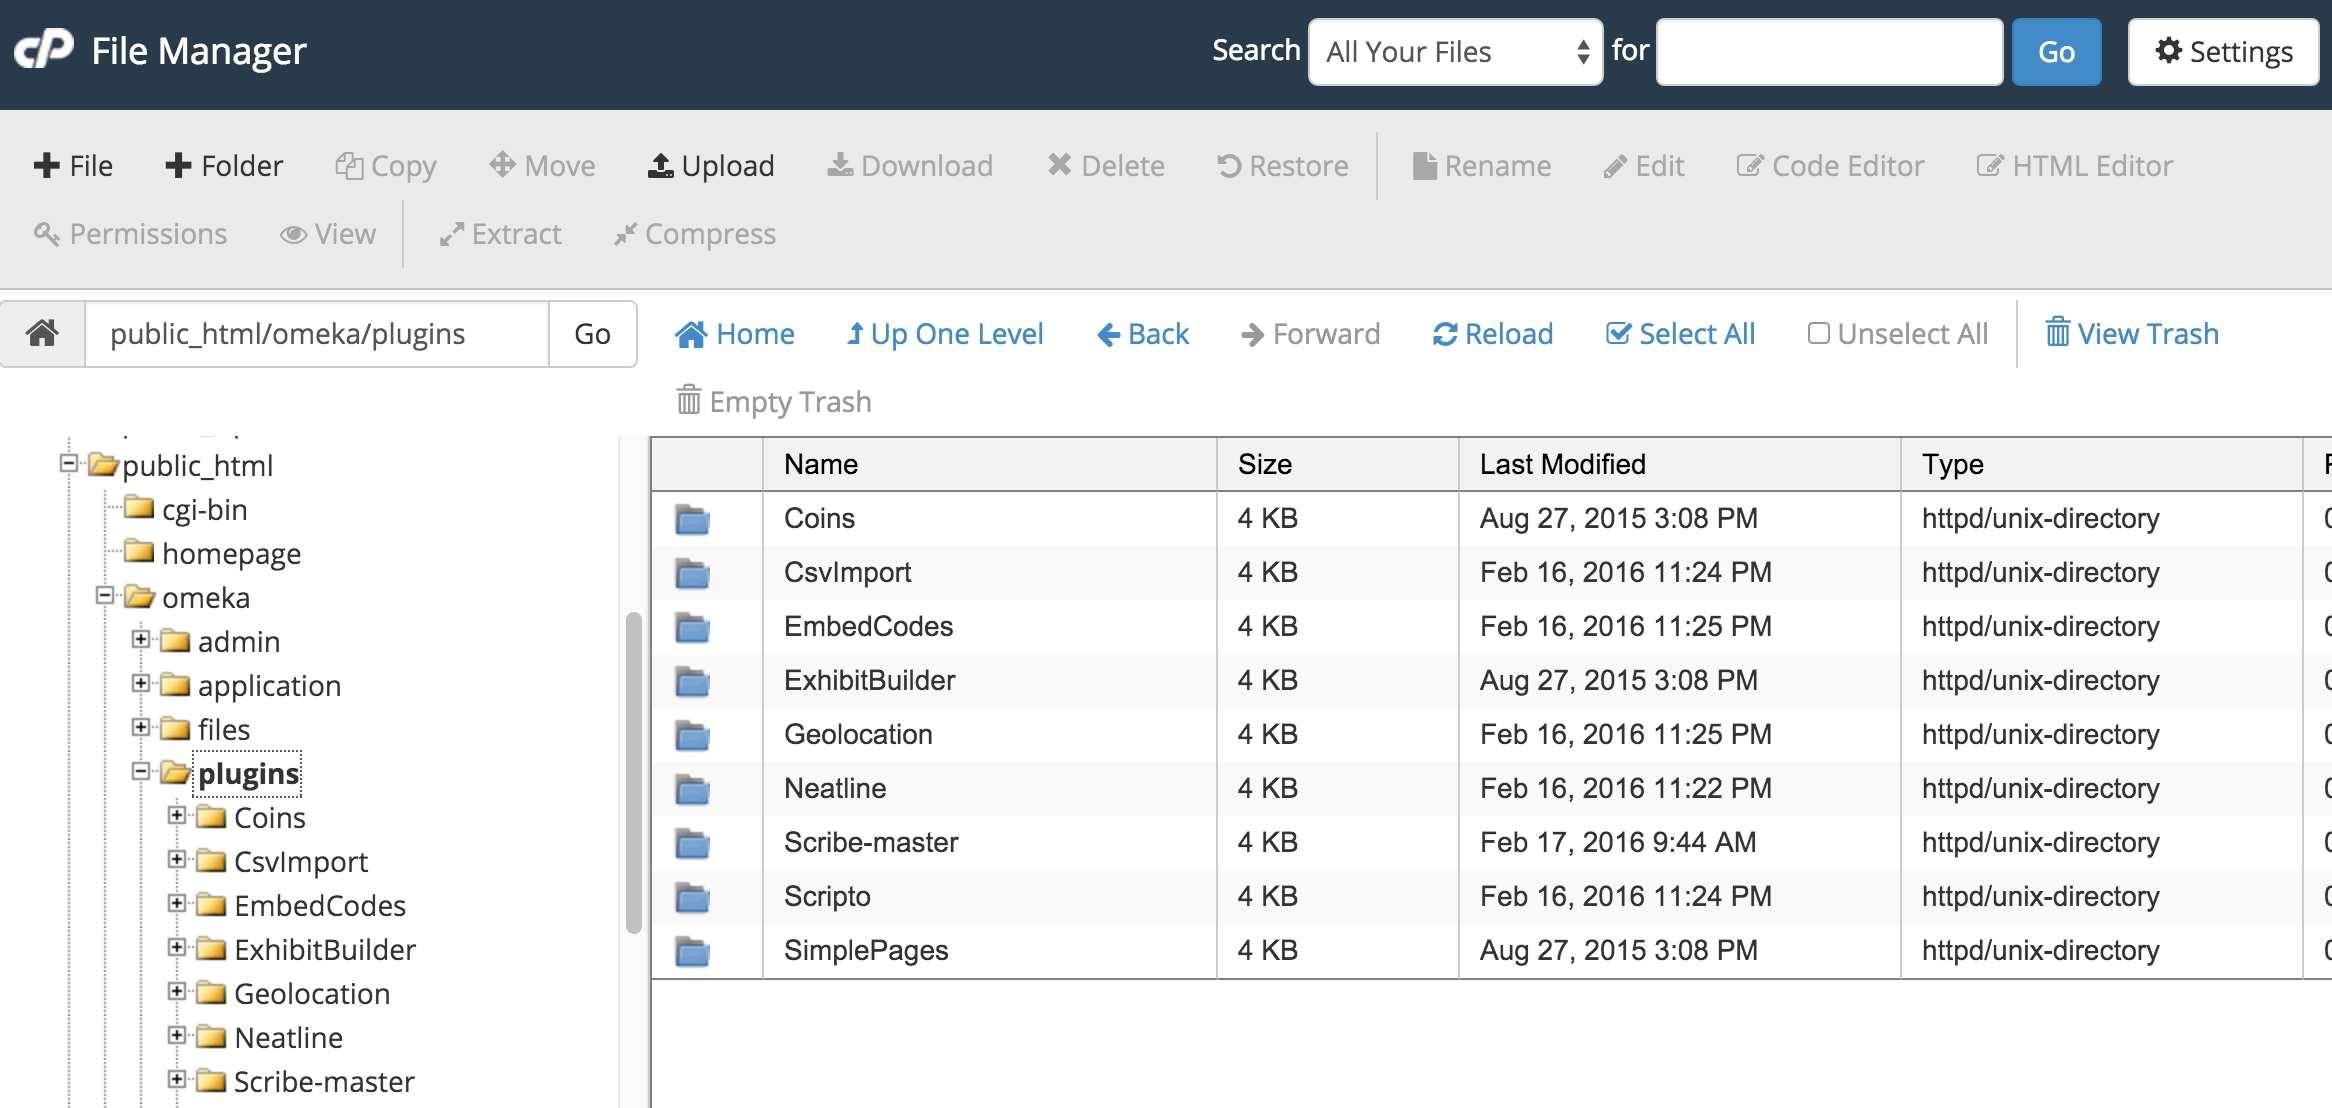
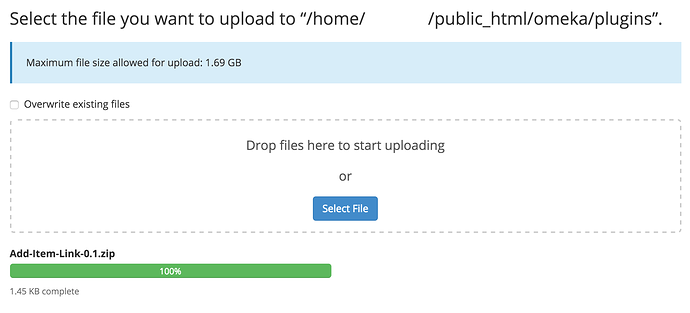
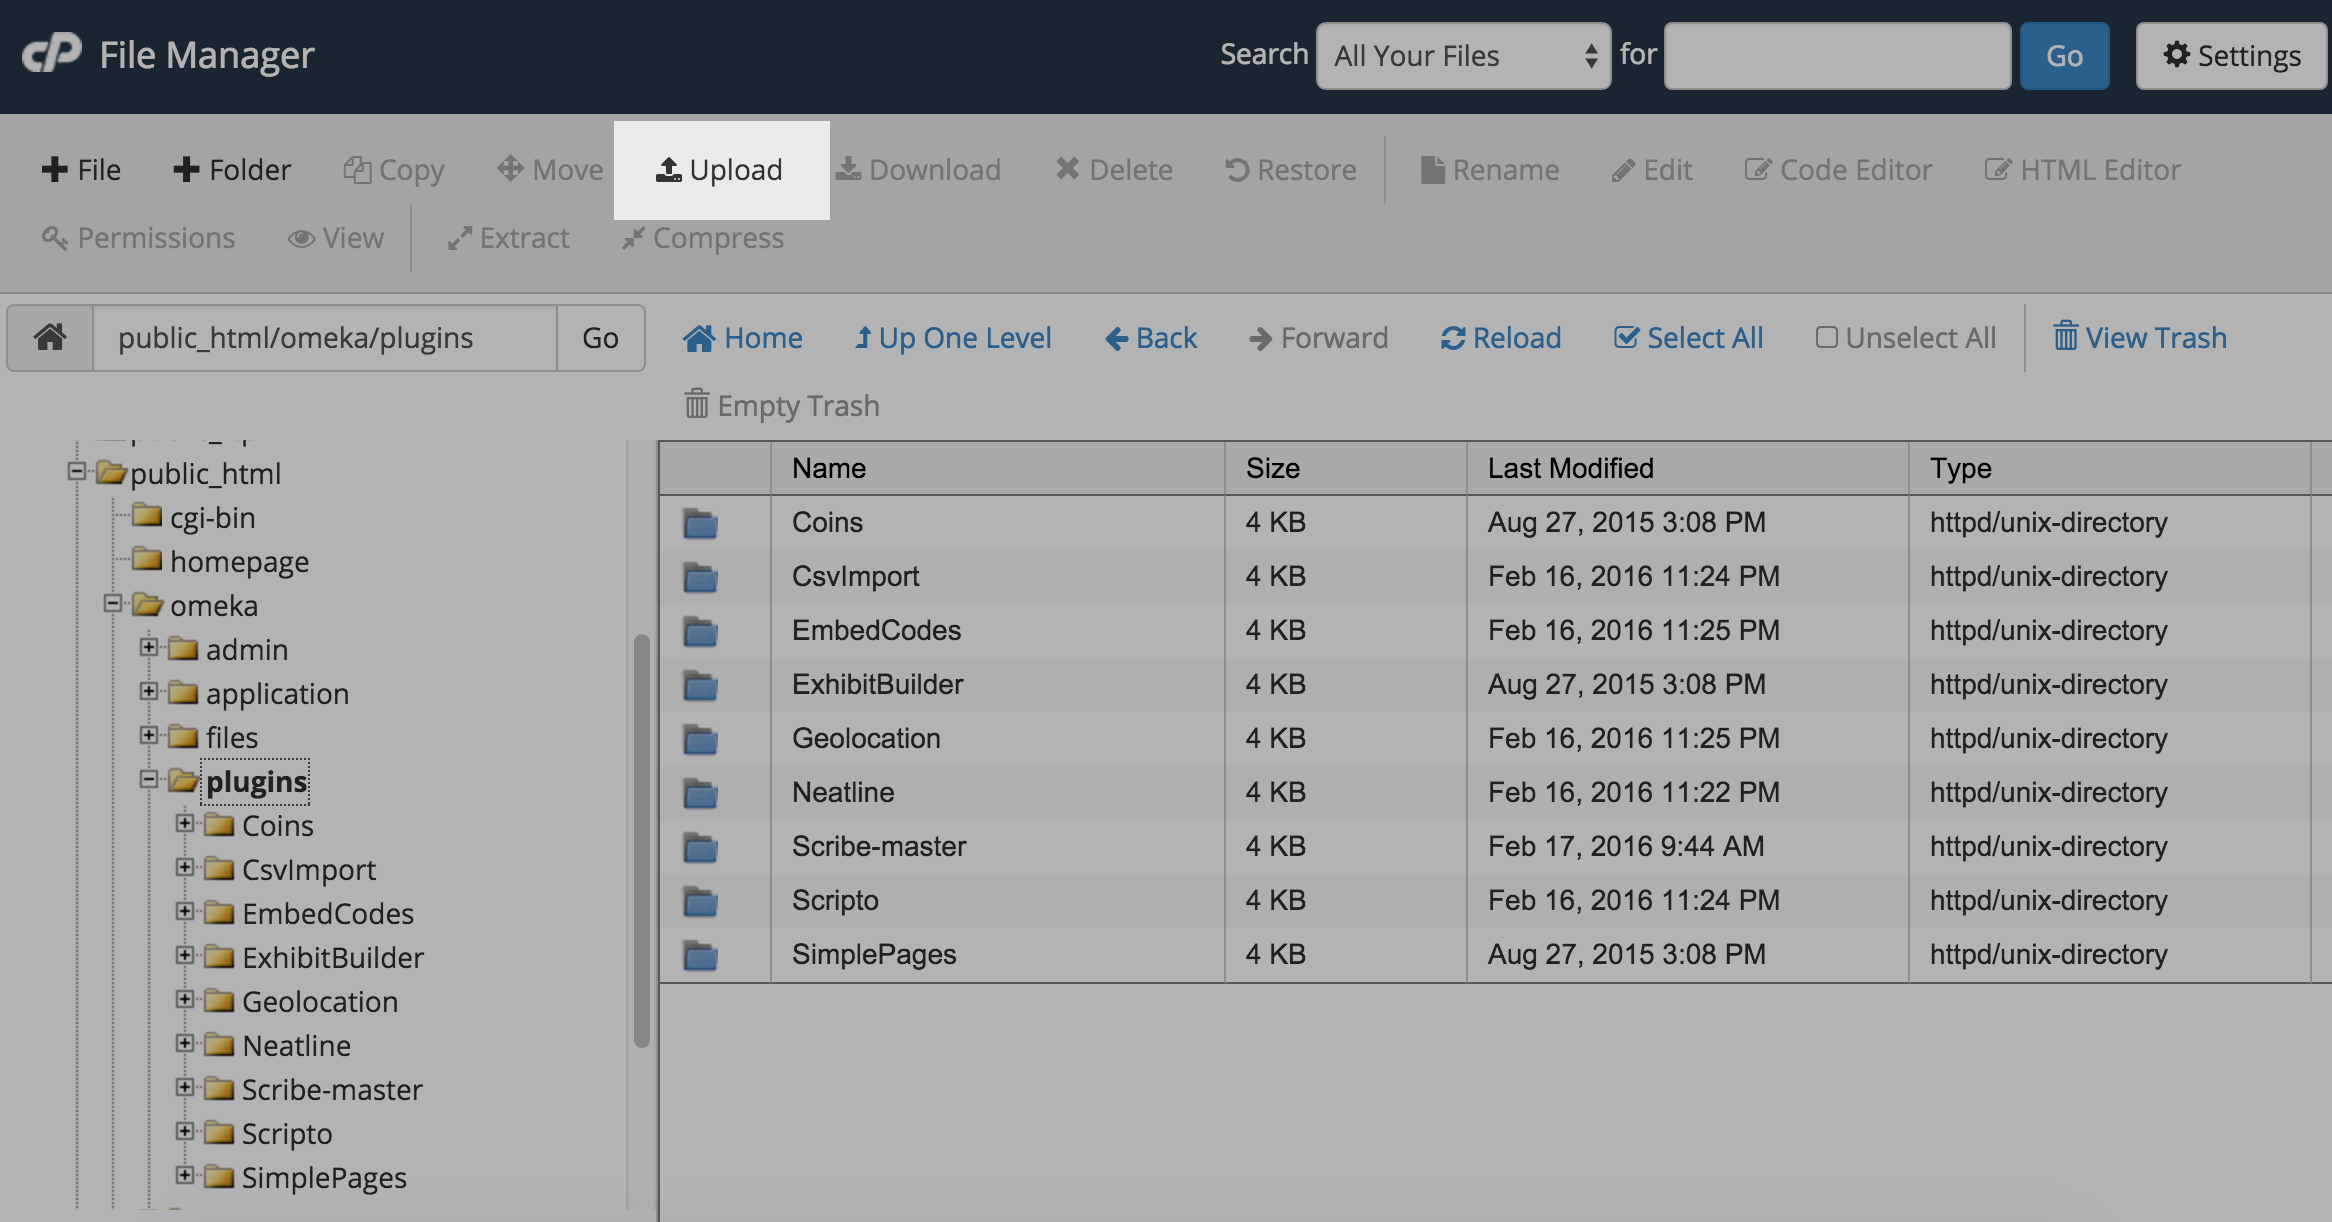
Here you will see all plugins currently in your Omeka install. To add a new one you want to have downloaded the zip file locally to your computer from Omeka’s website first. Then click the Upload button to upload the file.
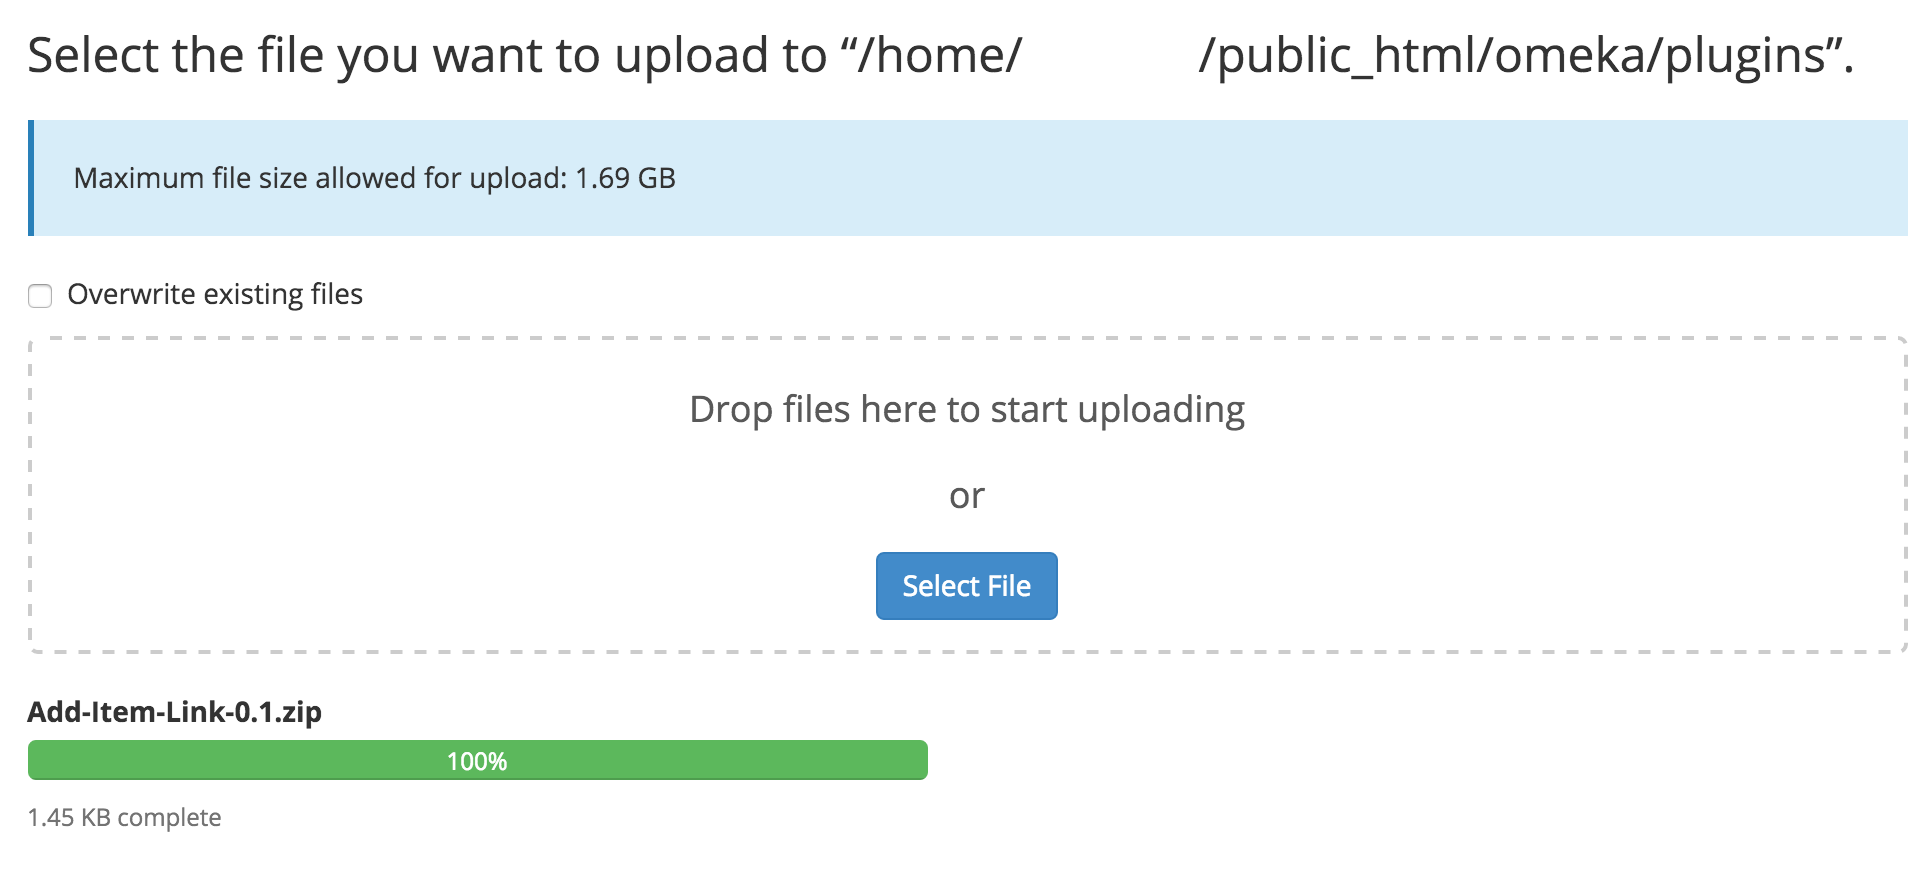
The interface will allow you to drag and drop or select from your computer one or more zip files for the plugins you wish to upload. Once the upload has completed you can return to the previous screen using the link at the bottom of the page.
You should now see a zip file for your plugin in the plugins folder. The last step is to extract the contents of the zip file to the same folder. To do this select your file and click the Extract button.

Once the plugin is extracted you can delete the zip file and the plugin will now be available for activation within your Omeka administration interface.