The CreateFSU Research Template includes the following to jumpstart your research site:
Front Page Template
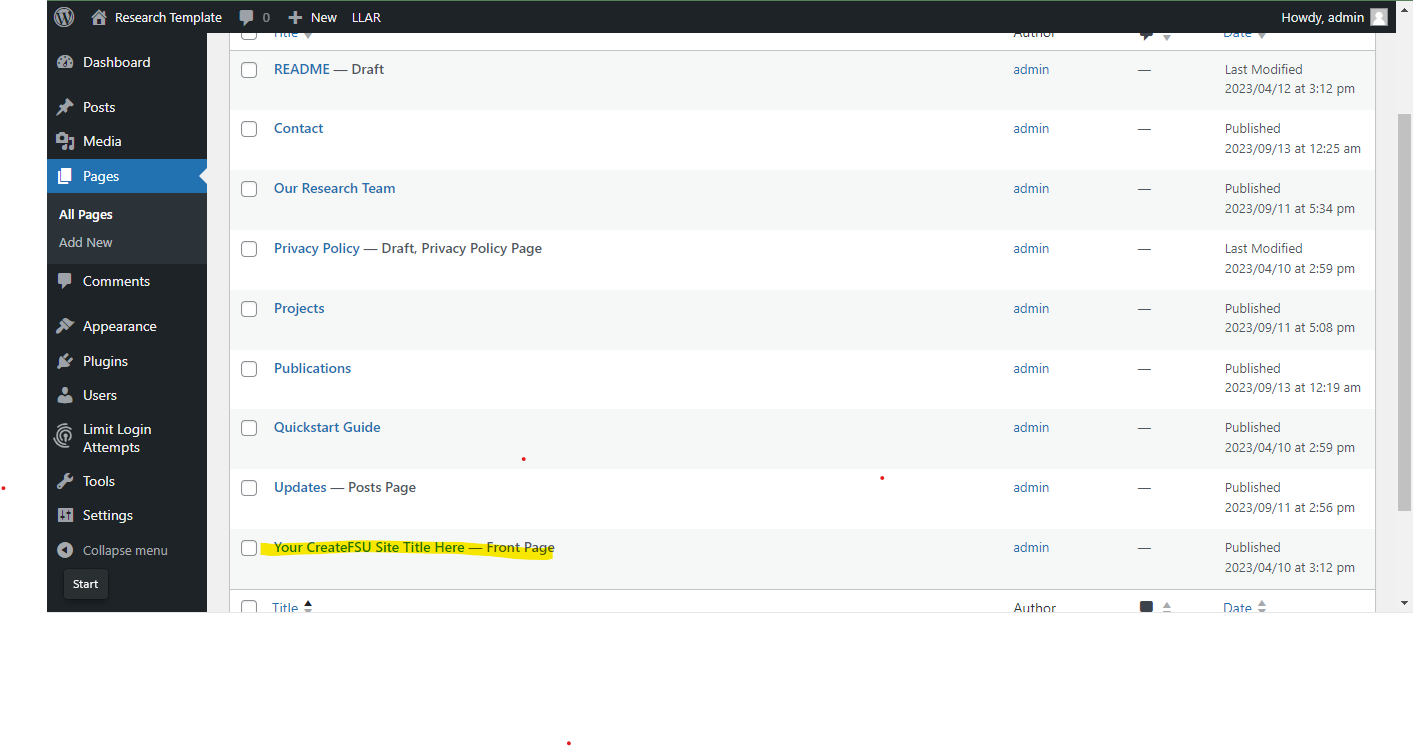
This is the homepage of your website. It provides space to introduce your research while also displaying your most recent posts and linking out to other areas of the site. The introduction area can be edited by going to the “Pages” section of the WordPress Dashboard and clicking on the page with your site title (it should also be labeled “Front Page”).
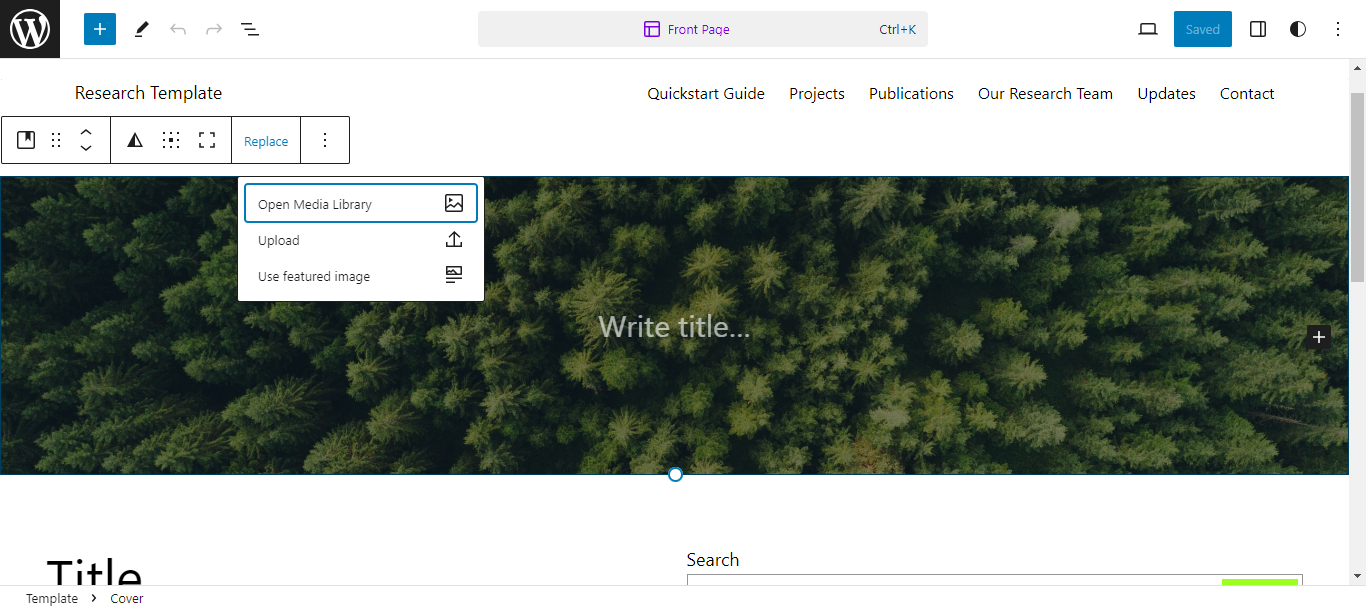
To edit the rest of the Front Page, use the WordPress Dashboard navigation on the left to go to:
Appearance > Editor > Templates > Front Page
Once here, you can use the Template Editor to replace the cover image and icons with your own media by clicking on them, then clicking the “Replace” button to upload a new image or choose one from your media library.
Blog Home Template
This template applies to the page titled “Updates” in the Pages section of the WordPress Dashboard. It is designed to display all the posts you create for the site; each time you publish a post, it should automatically populate in the Query Loop block associated with this page without any additional steps.
Note: In Pages, the Updates page will appear blank. This is because the formatting for this page lives in the Blog Home template, and the content comes from your posts.
To edit the template itself, use the WordPress Dashboard navigation to go to:
Appearance > Editor > Templates > Blog Home
To publish new updates, go to the Posts section of the WordPress Dashboard and click “Add New.” This will bring you to the Post Editor where you can write up your content, select a featured image, assign tags, and more. You can learn more about creating posts here.
Note: To edit the template design for individual posts, use the WordPress Dashboard navigation to go to:
Appearance > Editor > Templates > Single Posts
Projects Page
This page is designed to display information and media about your project(s). It can also be used as a parent page linking out to individual project pages if you choose (you can learn more about this here).
Publications Page
This page displays your past and upcoming publications and presentations. It also includes a block of social links, which can direct your visitors to ORCID or other relevant sites.
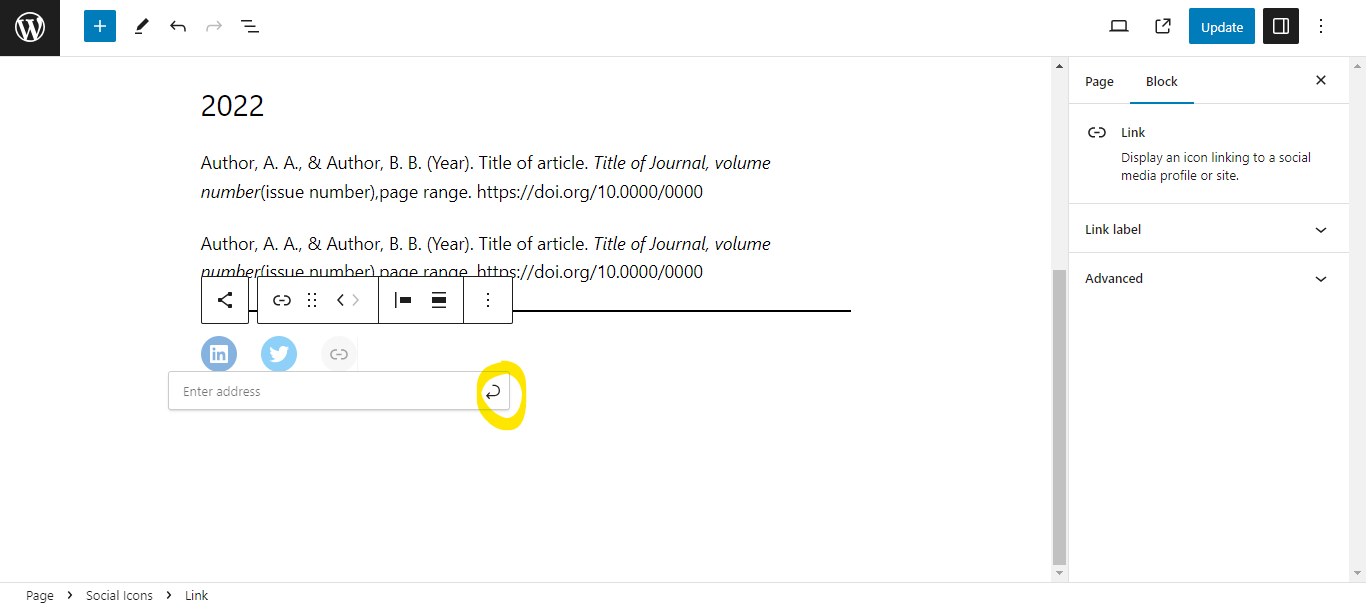
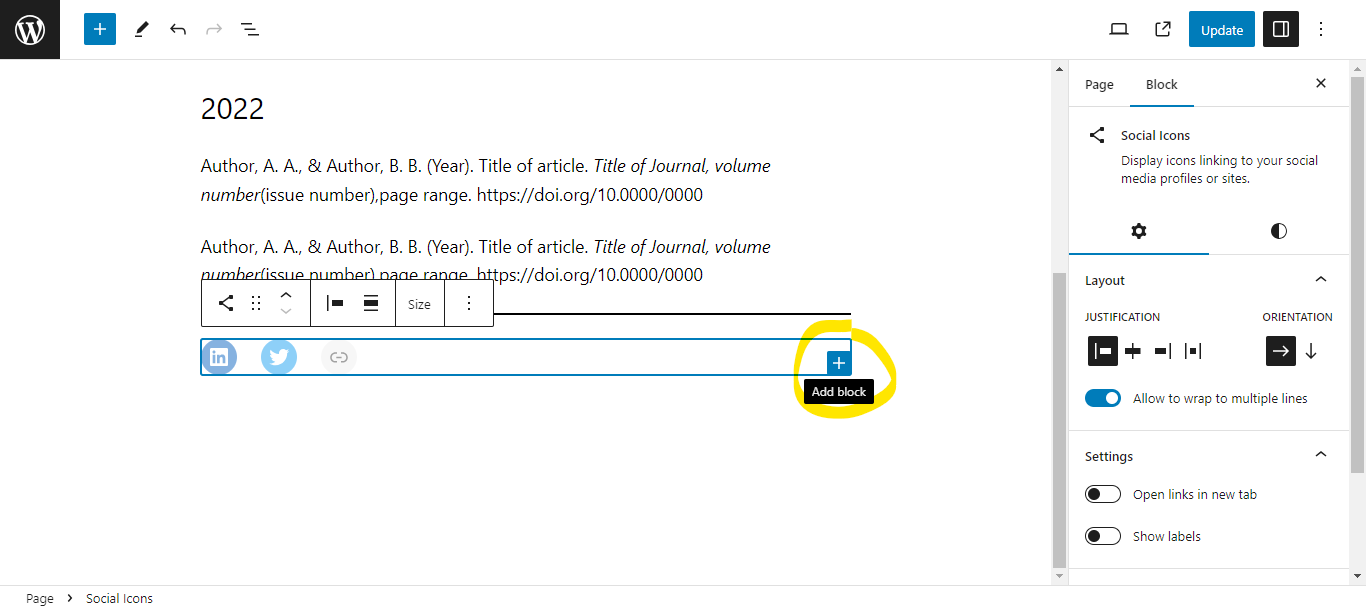
To begin adding your citations and links, simply click on the sample citations and delete/add text as you would in a Word document. If you have publications and/or presentations from years prior to 2022, you can add additional headings for those years.
To edit the social media links:
- Click on the Social Icons block
- Click on the individual item you wish to edit and paste the appropriate URL
- Click on the “Apply” arrow on the right to add the link
To add additional links:
- Click on the Social Icons block
- Click on the “+” that appears on the right of the block
- Search for and select the Social icon or link you wish you include
- Follow the steps for editing social media links to assign the appropriate URL to your new link
You may also wish to embed videos of your presentations; you can find in-depth instructions on this process here.
Our Research Team Page
This page is for any information you want to share about the researchers and graduate students involved in the project(s). You can click on the icons to replace them with your own images, as well as add bios and social media links for each contributor as desired.
To add additional researchers:
- Select one of the media blocks by clicking on the image
- Click the “Options” button in the menu that pops up
- Click “Duplicate”
- Change the image and edit the text as necessary
- You can use this same pop-up menu to adjust the orientation of the block (media on left or right of the text)

To add additional graduate students:
- Click one of the graduate student names
- Click on the “Select Stack” button in the menu that pops up
- Click the “Options” button in the pop-up menu
- Click “Duplicate”
- Change the image and text as necessary
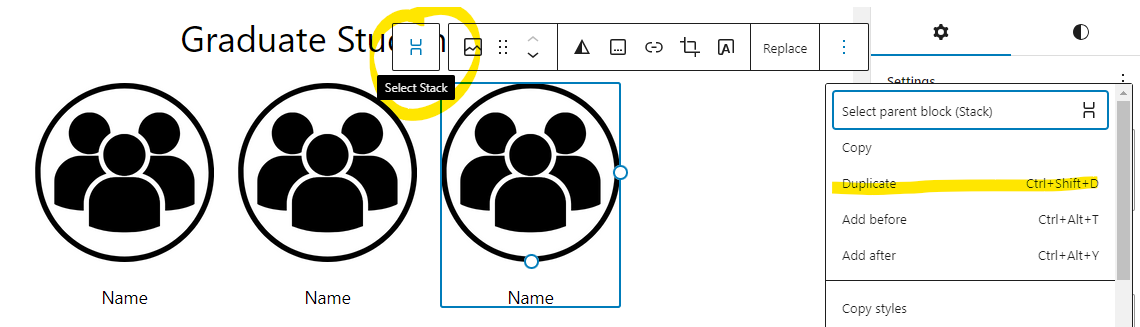
To delete a graduate student, follow steps 1 and 2, then press “Backspace” on your keyboard.
Contact Page
On this page, you can provide any desired contact methods for yourself or your research team. You can also update the social icons and/or include other appropriate links.
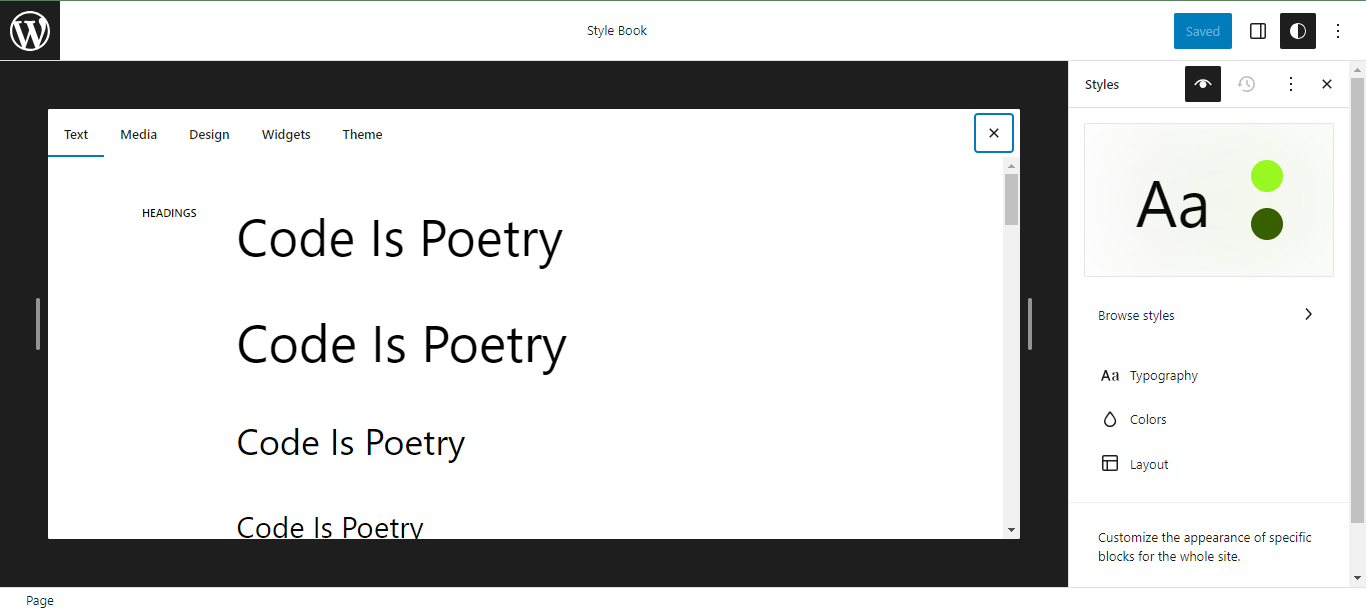
How to Edit Color Scheme / Style
If you would like to choose a different color scheme for the site, use the WordPress Dashboard navigation to go to:
Appearance > Editor > Styles
This will bring up a variety of different predesigned color schemes. Click on each one to preview how the color scheme displays on your homepage. You can also click on the eye symbol next to the “Styles” header for a more general preview.
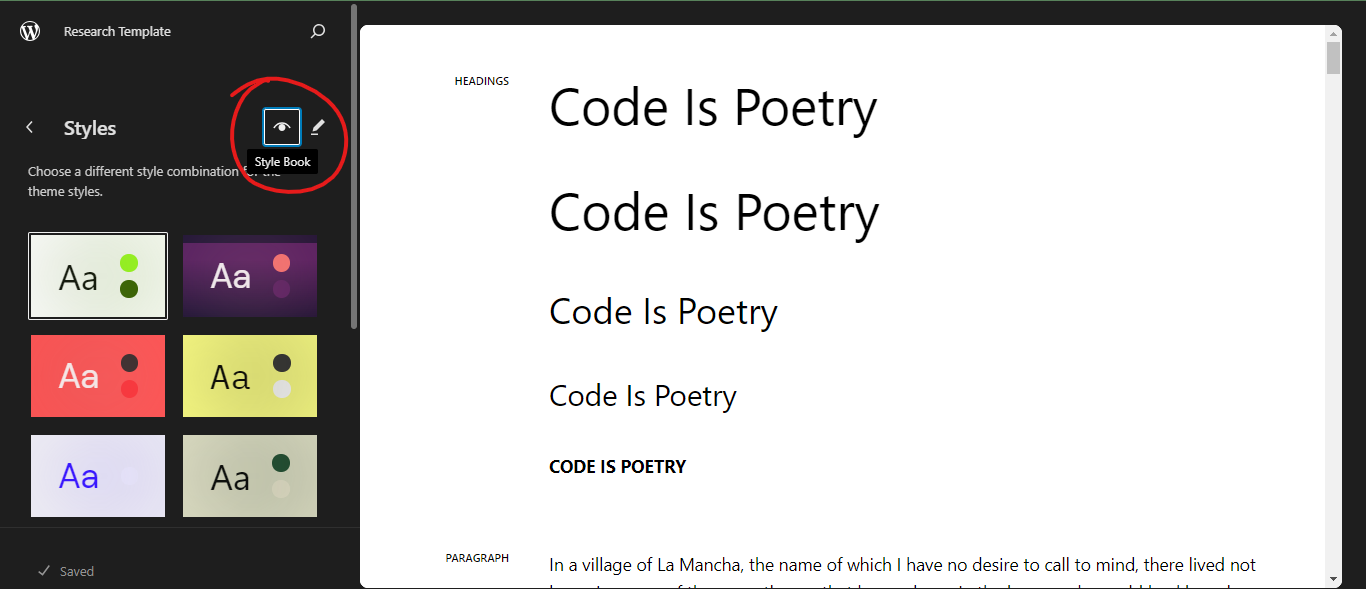
If you would like to edit individual elements of a color scheme, click on the “Edit Styles” button (pen symbol) next to the eye symbol. This will open a Styles menu on the left side of the screen. Within this menu, you can alter the typography and color of elements across the site.