Once your CreateFSU account is set up, it becomes a portal for accessing your applications, such as WordPress. Any time you want to log in and make changes to your applications, follow these steps:
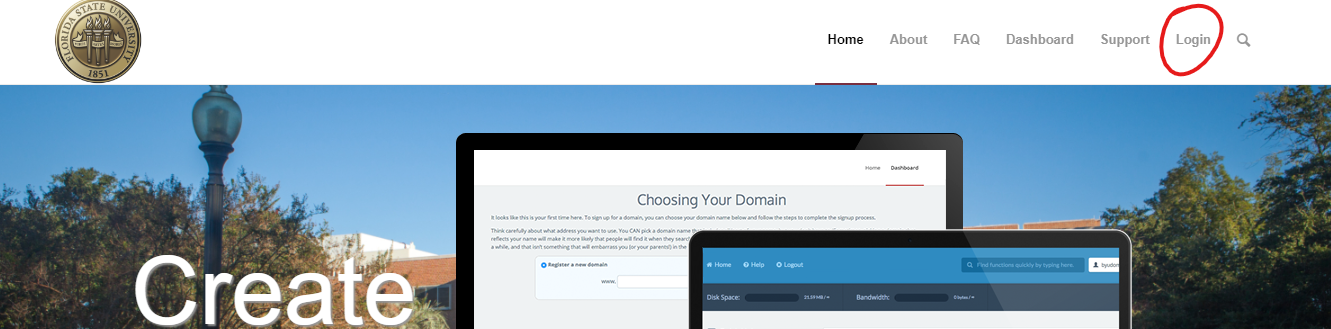
- Visit the CreateFSU website.
- Click the login button in the navigation menu (top right corner) and use your FSU credentials to sign in. (This may happen automatically if you’ve recently logged into FSU’s central authentication system elsewhere.)
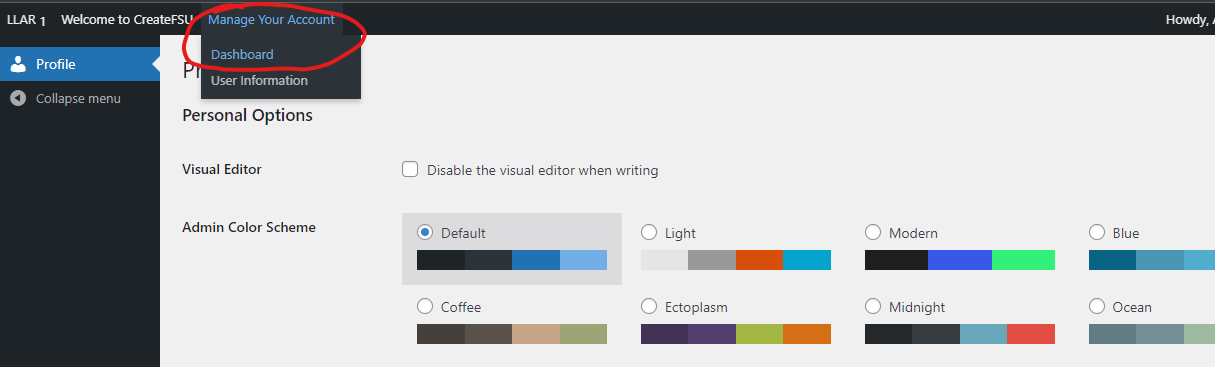
- Logging in may bring you to your Profile page or the CreateFSU homepage. If not, please proceed to step 4. If so, click “Manage Your Account” in the navigation bar (top left). This will take you to the cPanel Dashboard (a.k.a., the control panel for your CreateFSU account).
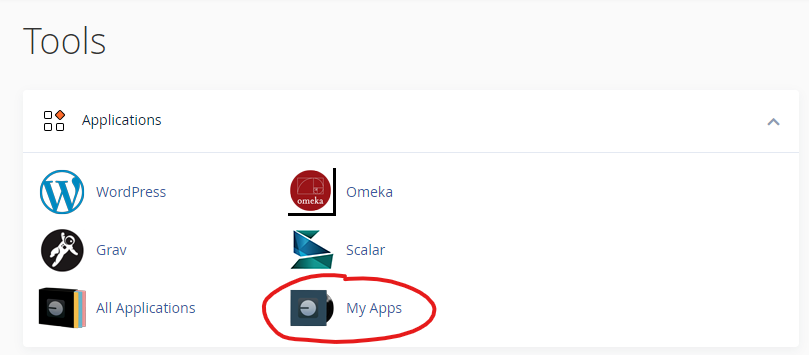
- Once you have reached the cPanel Dashboard, look for the Applications box and click “My Apps.” This will show you the applications that are currently installed in your account.
- Each application should provide three links:
- The first link will take you to the live, public view of your application.
- The middle link (ending in “admin”) will typically* log you into the application where you can begin editing and posting.
- The third link will take you to support documentation for that app.
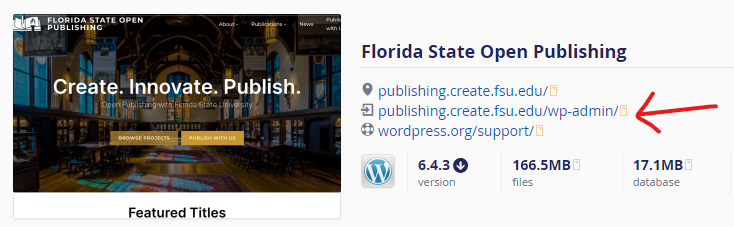
The example above is of a WordPress installation within a CreateFSU account. Clicking the “/wp-admin/” link would take you to the WordPress Dashboard.
*Please note that some applications, such as Omeka and Omeka S may have an additional login screen that requires application-specific credentials.